Or how to paint on cakes!

As I was painting the mimosa cake, I thought it would make a good tutorial, as it is a really easy design to recreate. It is really just blobs and lines (but done in a sensitive, artistic fashion!). So even the most nervous of beginners can have a go.
Good luck!

I use Proarte series 101 brushes. I use mostly a size 8, but here it is a size 4. Don't buy expensive sable brushes as they don't last very long, it's not worth it.
Prepare your fondant using corn flour, no Trex or shortening and leave it to dry over night.

I mix my colours in an artists palette with boiled water.

I have used Sugarflair paste colours, here it's egg yellow. Paint splodges for the mimosa blossom. You don't want perfectly round circles, so make sure they are all slightly different shapes, blobby is good.

When you paint the blossom blobs keep them uneven, so a few in a line at the top then maybe two on one side and one on the opposite side, or a bunch of three together.

Add a little dab of tangerine/orange to give the blossoms some shadow. Don't worry if it bleeds a little, this adds to effect. But if you find the colours actually running, your brush is too wet. Dab off a little moisture on some kitchen roll before you put the brush on the fondant, you may also find it helpful to use alcohol instead of water as it will dry quicker.

I am using a size 0 brush here with dark brown to add some stalks. Try and keep the brush stokes as light as possible, you don't want heavy marks with no movement in. Don't worry if there are breaks in the stems as this adds to the lightness.
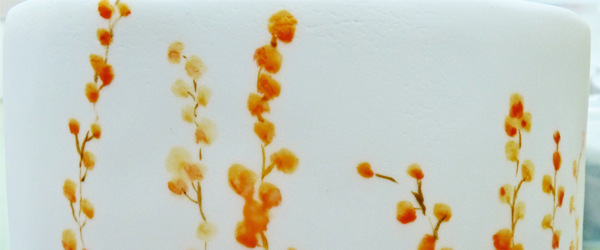 Make sure that all your stems are different heights and angles, but don't inadvertently create a repeating pattern, ie; one tall, one short, one bending right, one bending left. Have two tall stems next to a short stem and then a couple of medium ones etc.
The same principle applies to the bottom of the design. Note the different angles and how some blossom reach the end of the stem while others stop further up. All these little elements add up to create a more realistic looking design.
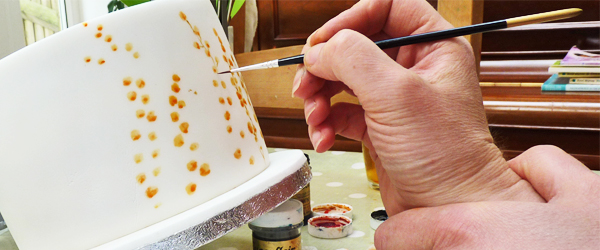 If I am painting a small cake I sometimes prop it up so I can get a better angle, sometimes I grip the wrist of my painting hand with the other hand to keep it stable.
It's very easy to rectify a mark you are not happy with, or any mistakes. Just brush the area with clean water, making sure not to press too hard or to scrap into the fondant. Wipe it carefully away with some clean kitchen roll, leave it to dry and repaint.
I hope this all makes sense. Happy painting and remember...enjoy it!
xxx


